
Industry Insights
How to Photograph Your Bag Collection: A Product Photography Guide for Small Brands
Your bag's photo is its first impression — and often its only one. A practical product photography guide for small brands shooting their first collection without a studio budget.
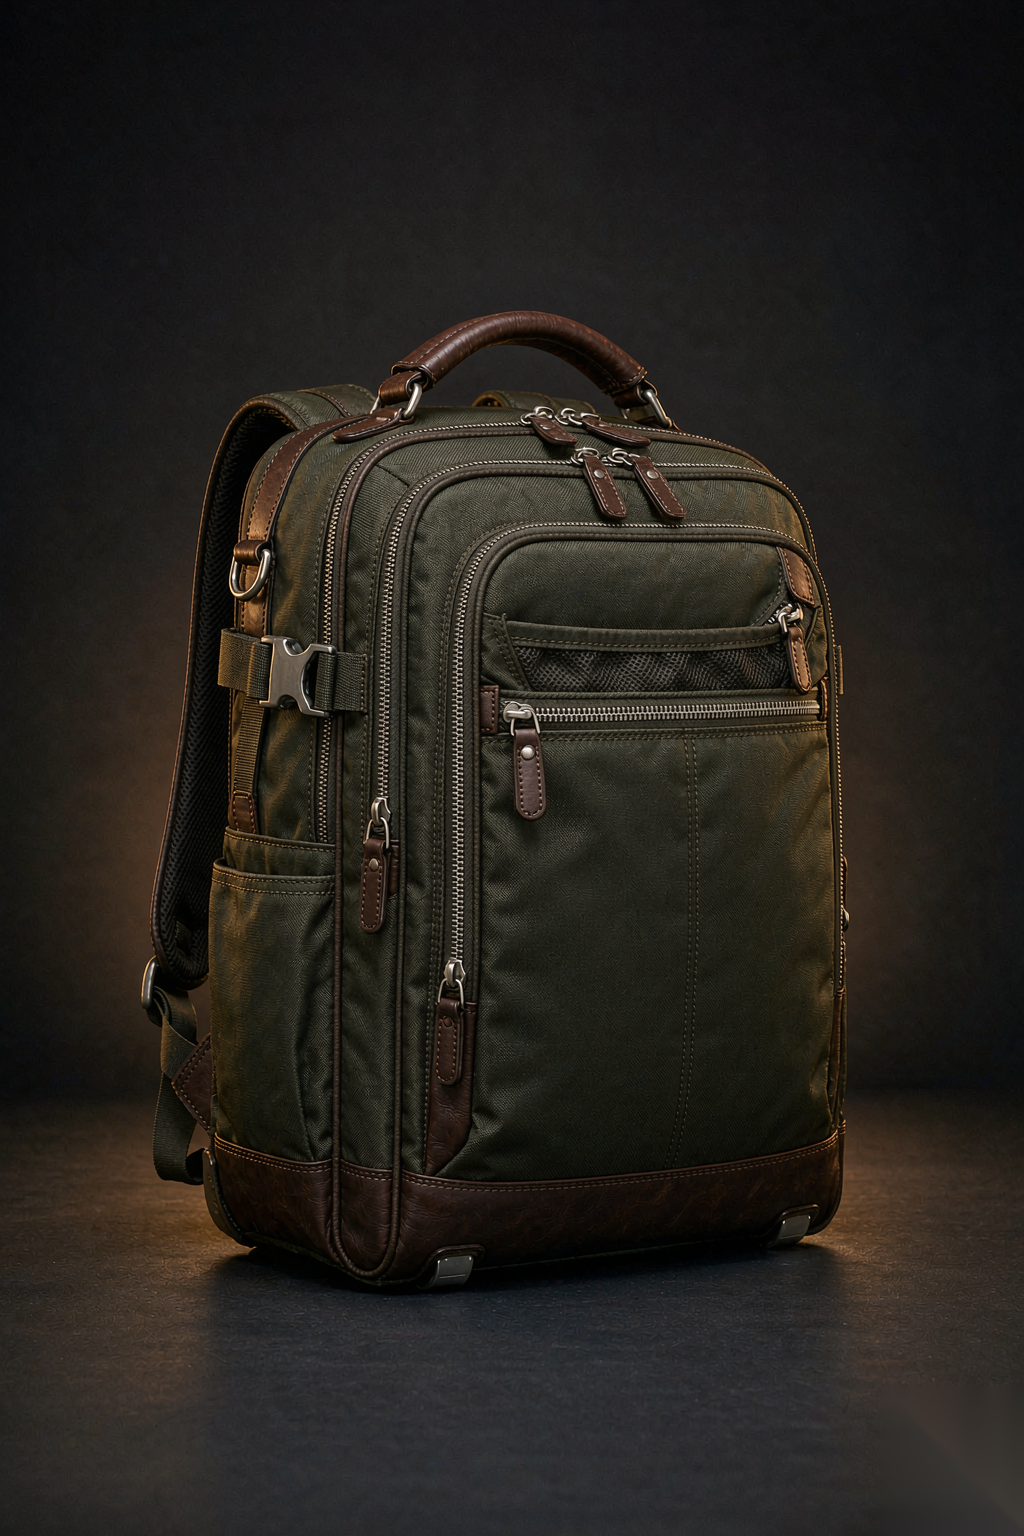
A bag's photograph is its first impression — and often its only one. On a website, a marketplace listing, or a social media post, the buyer sees the photo before they touch the product, and they judge the bag's quality by what they see. Bag product photography for small brands does not require a studio budget — it requires a understanding of what the photo must communicate and a systematic approach to capturing it. Here is a practical guide to shooting a bag collection that sells.
The Five Photos Every Bag Needs
A product listing needs five photographs, each serving a different purpose:
Photo | What It Shows | The Buyer's Question |
|---|---|---|
Hero shot | The bag at its best angle, styled | "Do I want this bag?" |
Scale shot | The bag worn or held by a person | "How big is it really?" |
Detail shot | Hardware, stitching, zipper pulls up close | "Is it well made?" |
Interior shot | The inside, fully open, contents visible | "Will it fit my stuff?" |
Context shot | The bag in its use environment | "Does it fit my life?" |
Most first-time brands shoot only the hero shot — a bag on a white background. The buyer's next four questions go unanswered, and the listing loses to a competitor who answered them.
The Setup: What You Need
A professional-looking bag photo requires less equipment than most brands expect:
A camera. A modern smartphone is sufficient for web-quality images — the camera matters less than the light.
A light source. One softbox or a window with indirect daylight. Natural light from a north-facing window is the free option.
A background. White or seamless gray paper, a clean wall, or a textured surface (wood table, concrete floor) that complements the bag's style.
A tripod or stable surface. Consistency across photos matters more than artistic angles.
The setup: place the bag on the background surface, position the light source at 45 degrees to the bag (three-quarter lighting shows texture and depth), and shoot from the bag's eye level — not from above.
The Lighting: The Difference Between Amateur and Professional
Lighting is the single variable that separates amateur bag photos from professional ones. Three rules:
1. One light source. Multiple lights create multiple shadows. One soft light (a window, a softbox) with a reflector on the opposite side is cleaner than three hard lights.
2. Three-quarter lighting. The light at 45 degrees to the bag shows texture, depth, and the leather's grain. Flat lighting (directly from the front or above) flattens the image and hides the details that sell the bag.
3. No flash. On-camera flash creates harsh shadows and flat lighting. If the natural light is insufficient, use a continuous LED softbox — not the camera's flash.
The lighting check: look at the bag's stitching in the photo. If the stitching is visible and the leather's grain shows, the lighting is good. If the surface looks flat and the stitching disappears, the light is too flat.
The Styling: How to Make the Bag Look Used (But Not Used Up)
A bag photographed empty looks flat and lifeless. The styling that makes it look desirable:
Fill the bag. A stuffed bag holds its shape — the silhouette reads as the designer intended. Stuff with tissue paper, bubble wrap, or a foam insert.
Show the details. Open the main zipper slightly to show the lining color. Fold the strap to show the hardware. Stand the bag on its base to show the structure.
Add context. A phone peeking from a pocket, a water bottle in the side pocket, a laptop sleeve visible in the interior — these context items tell the buyer what fits.
The styling rule: the bag should look used but not worn — as if the owner loves it and takes care of it. A pristine bag looks like a stock photo; a battered bag looks like a complaint. The sweet spot is between them.
The Post-Production: Minimal Editing, Maximum Impact
Post-production for bag photos should be minimal — the photo must represent the product honestly. The edits that are appropriate:
Color correction. Adjust white balance so the bag's color matches reality — a bag that looks different from its photo is a return.
Brightness and contrast. Lift the shadows and adjust the exposure so the details are visible.
Cropping. Crop to the product, with enough surrounding space to show scale and context.
Background cleanup. Remove distracting elements (cables, clutter) from the background — but do not alter the bag itself.
The edits that are NOT appropriate: changing the bag's color, removing scuffs or scratches (the buyer expects the bag they see), or adding design elements that are not on the physical product.
MOQs depend on the product and factory. Tell us what you need and we confirm what is realistic before you commit to anything. Product photography is a one-time investment per collection — the photos serve the website, the marketplace listings, and the social media simultaneously.
Frequently Asked Questions
Can I shoot bag photos with a smartphone?
Yes — a modern smartphone with a good camera produces web-quality images. The camera matters less than the lighting and the styling. Use the phone's manual mode if available, or a third-party camera app that gives exposure control.
Should I use a white background or a lifestyle background?
Both. White background for the main product listing (marketplace standard); lifestyle background for social media and the website's hero sections. The five-photo set includes both.
How do I photograph a dark bag without losing detail?
Dark bags require more light than light bags — increase the exposure or add a fill light. The challenge with dark leather is that it absorbs light, hiding the grain and the stitching. Side lighting (from 45 degrees) reveals the texture that flat lighting hides.
The Takeaway
Bag product photography is a five-photo system: hero, scale, detail, interior, and context. The setup costs less than most brands expect — a phone, one light, and a systematic approach to styling. The photos that result serve the website, the marketplace, and the social media — a one-time investment that pays for itself on the first sale.
