
Quality & Inspection
Bag Stitching Techniques: How Seam Construction Determines Bag Lifespan
The stitching is a bag's skeleton — and the first thing to fail. Lockstitch vs chainstitch, seam types, and the reinforcement techniques that determine lifespan.
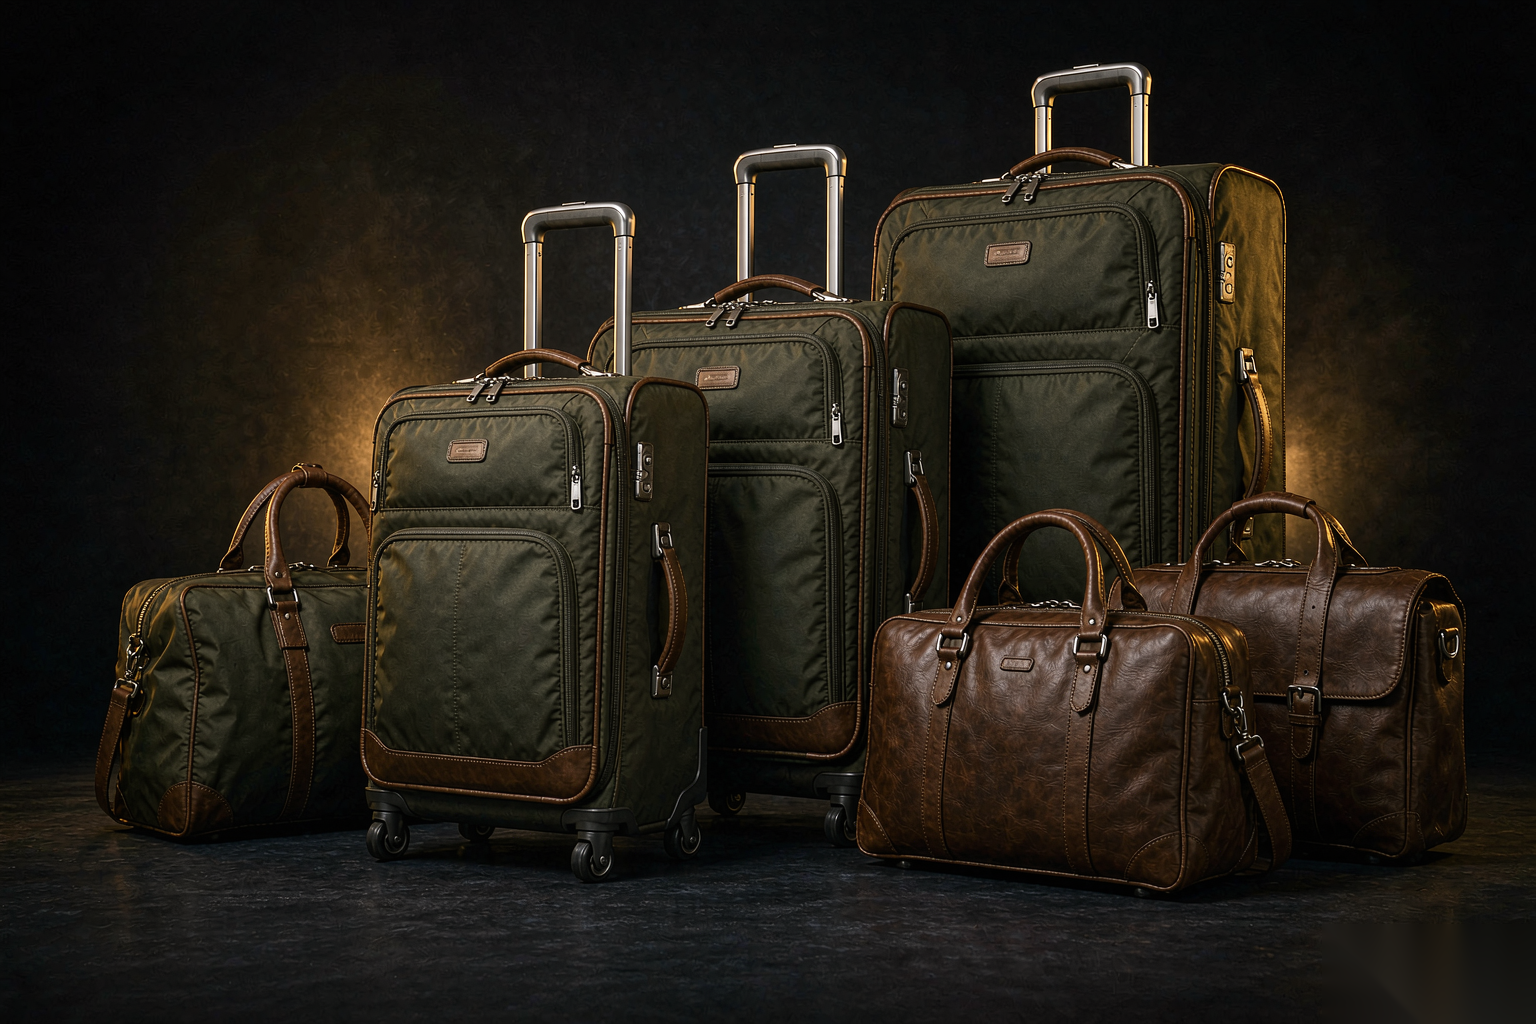
A bag's fabric is its skin; its stitching is its skeleton. Every stress point, every load path, every failure waiting to happen — they all trace back to the stitching. Bag stitching techniques are the QC discipline that separates bags surviving three years from bags splitting at the first overloaded carry. Here are the stitch types, seam constructions, and reinforcement methods that a buyer needs to verify at the sample review.
The Stitch Types: Lockstitch, Chainstitch, and Bar-tack
Commercial bag sewing uses three stitch types, each with a different behavior under stress:
Stitch Type | Structure | Strength | Failure Mode | Best For |
|---|---|---|---|---|
Lockstitch (301) | Needle + bobbin thread interlock in fabric | Strong per stitch; breaks if one thread breaks | One thread break = localized failure | Detail work, top-stitching, short seams |
Chainstitch (401) | Needle thread + looper thread interloop | Stronger overall; distributes stress along seam | Can unravel if looper thread breaks | Long structural seams, panel joining |
Bar-tack | Dense zigzag cluster (28-42 stitches) | Maximum at a single point | Rarely fails before surrounding fabric | Stress points: strap anchors, handle roots |
The development rule: chainstitch for long structural seams (distributes stress along the seam), lockstitch for detail and finishing (doesn't unravel), and bar-tacks at every stress point (last line of defense).
The QC check: pull a structural seam apart gently — chainstitch flexes and distributes; lockstitch shows individual stitch tension. A bag using lockstitch for main structural seams is built for cost, not durability.
The Seam Constructions: How Panels Join
The stitch type is the thread; the seam construction is how panels meet. Four constructions matter:
Plain seam. Two edges sewn face-to-face, pressed open. Adequate for non-stress areas.
French seam. Raw edges enclosed within the seam — clean inside and out, double the thread. Standard for bags where the interior is visible.
Bound seam. Raw edges covered with bias tape or webbing. Strongest edge finish for abrasion zones.
Flat-felled seam. Two panels interlock and are stitched twice — the strongest construction, also the slowest. A premium feature that signals quality.
The QC check: pull each seam type at a joint and inspect. French seams should show no raw edges; bound seams should wrap completely; flat-felled seams should show two parallel stitch lines.
The Reinforcement Map: Where Bags Need Extra
Three reinforcement techniques upgrade a bag from functional to durable:
Bar-tacks at stress points. Every strap anchor, handle root, zipper end, and pocket corner. The spec states the count per point.
Box-and-X stitching. At handle anchors where stress is multidirectional — the X catches diagonal loads.
Webbing wrap-through. Webbing wraps through a slot rather than sewing to the surface — a mechanical connection that doesn't depend on thread alone.
The reinforcement map is a drawing that marks every stress point on the bag and specifies the reinforcement type at each. It lives in the tech pack and the QC inspector checks against it at bulk.
The Thread Spec: The Detail Nobody Asks About
Thread is the bag's connective tissue. Three spec lines:
Thread weight — Tex 40-70 for heavy-duty; Tex 30-40 for standard. Too thin breaks under stress.
Thread material — polyester for UV and moisture resistance; nylon for strength but degrades in UV.
Stitch density — 3-5 stitches per centimeter. Too few weakens; too many perforates.
MOQs depend on the product and factory. Tell us what you need and we confirm what is realistic before you commit to anything. Stitching and reinforcement are labor costs — knowable from the spec sheet, not from a failure report.
The QC Checklist: Seven Checks at Sample Review
1. Count bar-tacks at every stress point — match against spec
2. Pull main seams gently — chainstitch flexes, lockstitch holds
3. Check French/bound seams for raw edges
4. Verify thread quality (should not snap under firm hand pull)
5. Check stitch density (3-5 per cm)
6. Trace webbing wrap-through at anchors
7. Look for skipped stitches, loose tension, thread breaks
Seven checks, two minutes. The bag that passes all seven will outlast the marketing campaign.
Frequently Asked Questions
Why does my bag seam unravel?
Chainstitch unravels when the looper thread breaks — usually from excessive tension or a dull needle. Check thread quality and needle condition at the factory.
What is the strongest seam construction?
Flat-felled with chainstitch and bar-tacks. Also the most expensive. French seam with chainstitch and bar-tacks at stress points is sufficient for most bags.
Is more stitching always better?
No. Too many stitches perforate the fabric and create a tear line. Density and reinforcement placement follow the stress map.
The Takeaway
Bag stitching techniques determine the product's lifespan. Three stitch types, four seam constructions, and a reinforcement map that marks every stress point — specified in the tech pack, checked at the sample, verified at bulk. The bag with correct stitching is the bag that builds a reputation for durability.
