
Industry Insights
Camera Bag Internal Structure: Dividers, Access, and Protection for Expensive Gear
A camera bag carries $5,000+ of fragile equipment. The internal divider systems, access designs, and padding specs that protect camera gear from real-world drops.
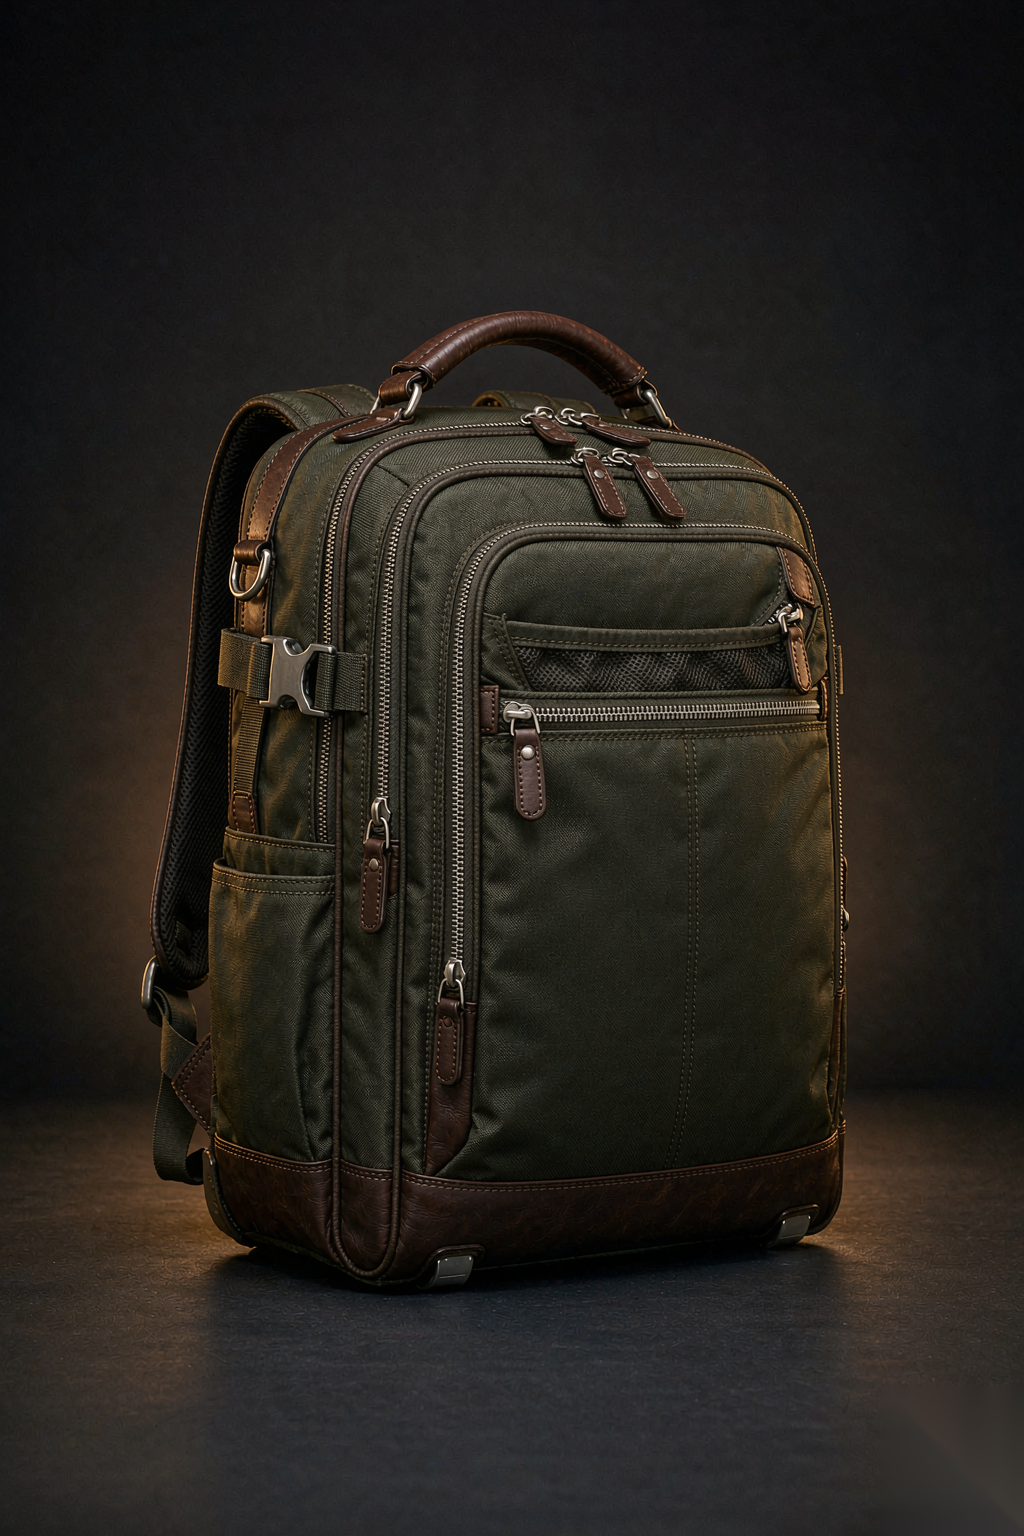
A camera bag carries the most expensive cargo per cubic centimeter of any bag category: a body and two lenses can exceed $5,000, packed into a space smaller than a shoebox. Camera bag internal structure is therefore a protection-first design discipline — every divider, every pad, every zipper placement is specified to prevent the one failure that destroys the product's reputation: a lens that breaks because the bag's padding shifted. Here is the internal architecture that camera bag development demands.
The Divider System: Modular vs Fixed
The internal dividers are the camera bag's defining feature — they separate and protect each piece of equipment. Two systems:
System | How It Works | Best For | Trade |
|---|---|---|---|
Fixed dividers | Sewn-in padded walls at fixed positions | Single-camera setups that don't change | No flexibility; the layout is permanent |
Modular (hook-and-loop) | Padded dividers attach with velcro to the lining | Multiple camera configurations | Dividers can shift; velcro wears over years |
Modular dividers are the commercial standard — photographers reconfigure their gear constantly, and the divider system must adapt. The development spec:
Divider thickness. 8-12mm high-density foam wrapped in a non-slip fabric. Too thin doesn't protect; too thick wastes interior space.
Attachment strength. The hook-and-loop must hold dividers in place when the bag is inverted — a divider that slides during transit is a divider that fails.
Configuration options. The bag should include enough dividers to create 4-8 configurations — the more ways the interior can be arranged, the more camera setups the bag serves.
The Access Design: Top vs Side vs Back
How the photographer accesses the camera is the second design decision — and it determines the bag's entire layout:
Top-loading. The camera is accessed from the top through a lid. Simple and weather-resistant, but the camera at the bottom requires removing everything above it.
Side-loading. The camera is accessed from the side — the photographer swings the bag to the front and pulls the camera out without putting the bag down. The professional standard for event photographers who cannot put the bag on the ground.
Back-loading (anti-theft). The camera compartment opens against the wearer's back — the most secure access (nobody can reach into it behind you). The trade: the bag must be removed to access the camera.
Each access design determines the divider layout, the zipper path, and the bag's overall silhouette. The development choice is driven by the target user: event photographers need side-loading, travelers prefer back-loading, and hobbyists accept top-loading.
The Padding Spec: What Protects $5,000 of Glass
Camera lenses are the most fragile items carried in any consumer bag. The padding spec:
Density. High-density closed-cell foam (not open-cell) — closed-cell absorbs impact without absorbing moisture.
Thickness. 10-15mm around each piece of equipment — thicker at the lens ends, where glass is most vulnerable.
Shape. Custom-cut dividers that cradle each lens and body — a lens that can move inside its compartment is a lens that will eventually crack.
The padding spec is the QC check that matters most: press the padding firmly with a thumb — it should resist and spring back. Foam that compresses permanently is under-densified and will fail in bulk.
The Exterior: Weather Resistance and Discretion
Camera bags face two conflicting exterior demands: weather protection and discretion. A bag that screams "expensive camera inside" is a theft magnet. The exterior spec:
Weather-resistant shell. Coated fabric that handles rain without a rain cover — camera gear and water are incompatible.
Low-profile design. No camera-brand logos, no external lens mounts, no visible dividers — the bag should look like a regular messenger or backpack.
Quick-access buckles or zippers that the photographer can operate one-handed without putting the bag down.
MOQs depend on the product and factory. Tell us what you need and we confirm what is realistic before you commit to anything. Camera bag development carries a divider-system and padding minimum that is knowable before sampling — from the factory, not a website.
Frequently Asked Questions
What is the most common camera bag failure?
Divider detachment — the hook-and-loop wears and the dividers slide, allowing equipment to contact each other. The fix: higher-grade hook-and-loop and divider anchors at the base.
How many dividers should a camera bag include?
Enough for 4-8 configurations. A bag that includes 6-8 dividers covers most camera kits; fewer limits the bag to one setup.
Can I use a regular bag for camera gear with aftermarket dividers?
Aftermarket divider inserts work in regular bags — they are a valid budget option. But a purpose-built camera bag integrates the dividers, the padding, and the access design as a system, which aftermarket inserts cannot match.
The Takeaway
Camera bag internal structure is protection engineering for the most expensive cargo per volume in the consumer bag market. The divider system, the access design, and the padding spec are the three decisions that determine whether the bag protects $5,000 of glass — or delivers it broken.
