
Quality & Inspection
Footwear Quality Control: 12 Checks Before You Approve Shipment
A practical footwear quality control checklist: 12 manual checks to run before approving shipment.
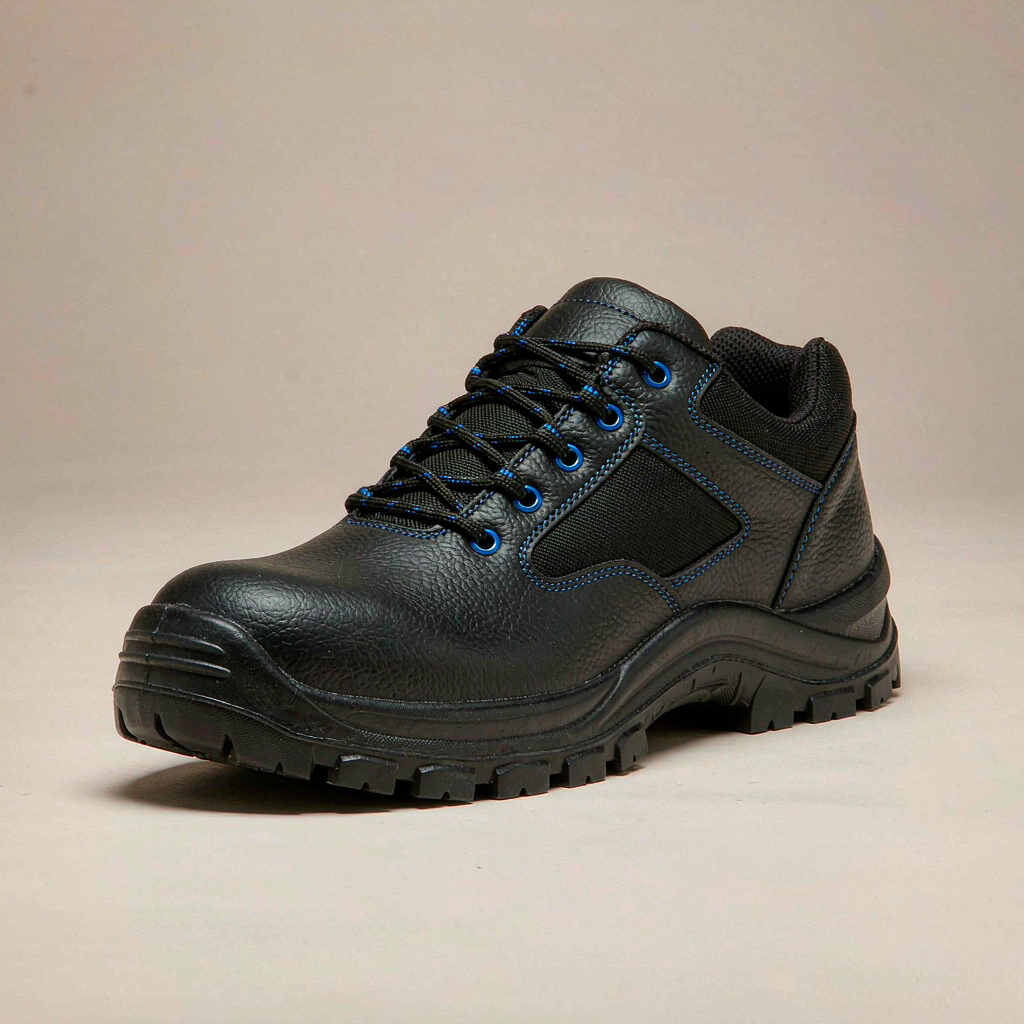
# Footwear Quality Control: 12 Checks Before You Approve Shipment
The sample looked right, the factory's photos looked clean, and production was "finished" on schedule. Then the cartons land and you find glue stains on the uppers, a box holding two left shoes, and a heel that wobbles on the counter. Factory photos almost never catch this. Footwear quality control — a hands-on check of finished pairs before you approve the shipment — is what closes that gap.
Below are 12 manual checks for footwear before release. Each one tells you how to check and what counts as a fail, so you can run the list yourself or hand it to whoever inspects on your behalf. No instruments, no lab: a table, good light, a ruler, and the approved sample.
Pairing, Symmetry, and Surface Finish
1. Left/Right Pairing and Symmetry
How to check: Place the pair on a flat table, heels together. Compare toe shape, collar height, color, and the position of logos, eyelet rows, or ornaments. Confirm the box holds one left and one right shoe — mix-ups happen more often than anyone admits.
Fail if: one shoe sits visibly taller, longer, or wider than the other; components sit at different heights; a box contains two of the same foot.
2. Glue Overflow and Open Glue
How to check: Inspect every glue line — sole edge, toe cap, heel seat, straps — under strong light. Press gently along the sole edge with a thumb. Feel inside the shoe for stiff glue patches on the lining.
Fail if: glue stains or strings show on the upper or lining; the sole edge lifts or opens under light finger pressure; glue lines are gapped or uneven.
3. Upper Color and Shade Matching
How to check: Compare left against right, and both against the approved color standard, under normal lighting. Check panels within one shoe: toe versus quarters, tongue versus collar.
Fail if: a shade difference is visible between the two shoes, between panels of one shoe, or against the approved standard.
Stitching and Sole Construction
4. Stitch Density and Stitching Quality
How to check: Count stitches per inch on the main seams and compare with the golden sample or spec sheet — uppers often run six to nine stitches per inch, but the spec decides. Look for skipped or broken stitches, puckering, and loose threads, and flex the seams lightly by hand.
Fail if: the stitch count is clearly off the approved sample; skipped or broken stitches; puckered or crooked seams; untrimmed thread ends; seams that gape when flexed.
5. Outsole Bonding
How to check: Run a finger along the full joint where the upper meets the sole. Look for gaps, bubbles, or a wavy glue line, and squeeze the edge gently to feel for hollow spots.
Fail if: any gap where the sole separates from the upper; visible daylight along the edge; the edge opens when pressed. Weak bonding is the defect you least want to discover after delivery.
Inside the Shoe: Lining, Insole, Heel, and Trims
6. Lining and Insole
How to check: Check the lining material and color against the sample. Run a hand around the inside to feel for exposed tacks, staples, or sharp points. Check that the insole sits flat and any printed logo or size marking is correct.
Fail if: wrong lining material or color; exposed tacks or sharp edges inside; insole lifting or wrinkled; misspelled or wrong logo.
7. Heel and Heel Tips
How to check: Hold the shoe and press and wiggle the heel by hand — it should feel solid and quiet. Check that the heel is centered and the toplift sits flush, with no exposed or protruding nails. Measure heel height against the sample.
Fail if: the heel wobbles or squeaks; the heel sits visibly off-center; the toplift peels, cracks, or shows protruding nails; heel height differs from the sample.
8. Accessories: Laces, Eyelets, Buckles
How to check: Measure both laces against the spec and against each other. Check that aglets are sealed, eyelets have no sharp edges and do not spin or loosen, and buckles, hooks, or zippers work smoothly. Confirm spare laces, hangtags, and charms are included if required.
Fail if: lace lengths are unequal or off spec; spare laces missing; rusted or sharp eyelets; buckles or zippers that jam; missing hangtags or trims.
Measurements and Sample Comparison
9. Size Tolerance, Measured
How to check: Measure total length, ball width, and heel height with a ruler or tape on pairs pulled from across the size run, and record the numbers against the spec sheet.
Fail if: any measurement falls outside the tolerance in the spec. Tolerances vary by product and factory, so agree them in writing before production starts — "close enough" is not a spec.
10. Golden Sample Comparison
How to check: Set a production pair next to the sealed golden sample — the approved reference that buyer and factory each kept from sampling. Compare material, color, construction, logo placement, stitching pattern, and even the packaging, one item at a time.
Fail if: anything differs that was not approved in writing: a different material or shade, a moved logo, a swapped component, a different box.
Packing and Carton Checks
11. Shoe Box and In-Box Presentation
How to check: Open boxes and check the size label against the shoes inside. Verify tissue paper, silica gel, shoe trees, and hangtags against the packing spec, and look over box condition and printing.
Fail if: the box label does not match the shoes inside; required silica gel, tissue, or inserts are missing; boxes are crushed, dirty, or misprinted.
12. Carton Spot Check
How to check: Open packed cartons at random. Pull boxes, verify the size assortment against the packing list, count pairs per carton, and check carton condition and shipping marks — PO number, style, color, carton count, destination.
Fail if: the size mix does not match the packing list; short count; unmatched or mixed pairs; damaged cartons; wrong or missing shipping marks.
How many pairs to pull per shipment depends on the sampling plan, applied if/when agreed between buyer and supplier — put it in writing before production, not after the cartons are stacked.
The 12 Checks at a Glance
Check / How to check / Fail if
• Left/right pairing — Pair on a flat table; compare shape, height, color, logo position — Height or shape mismatch; two of the same foot
• Glue lines — Inspect all glue lines; thumb-press the sole edge — Glue stains; edge lifts under light pressure
• Shade matching — Compare left/right and panels against the approved standard — Visible shade difference
• Stitching — Count stitches per inch vs sample; inspect and flex seams — Skipped or broken stitches; puckering; count off sample
• Outsole bonding — Finger along the joint; gentle squeeze — Gap or daylight; edge opens when pressed
• Lining & insole — Feel inside; compare material to sample — Exposed tacks; lifting insole; wrong lining
• Heel & toplift — Wiggle heel by hand; measure height — Wobble; off-center; peeling toplift
• Laces & trims — Measure laces; test eyelets and buckles — Unequal lengths; rust; jamming; missing spares
• Size tolerance — Ruler or tape vs spec across the size run — Outside the agreed tolerance
• Golden sample — Side-by-side comparison with the sealed sample — Any unapproved difference
• In-box packing — Label vs contents; check inserts and box condition — Wrong label; missing silica gel or tissue
• Carton spot check — Random boxes vs packing list and shipping marks — Wrong size mix; short count; damage
Footwear Quality Control on the Ground in Quanzhou
Quanzhou and the surrounding Fujian coast are among China's largest footwear manufacturing clusters, and most factories here run their own final checks. The catch is that a factory is grading its own work, and its bar for "acceptable" may sit further from yours than you expect.
That is why the 12 checks above only work when someone independent stands in the workshop, opens the cartons, and handles the shoes one pair at a time — on the golden sample before bulk production, on pulled pairs mid-run, and again on packed goods before release. It is manual work: eyes, hands, a ruler, good light, and the sample to compare against.
That is what we do at GlobalSala, a sourcing agent based in Quanzhou. We match factories, follow production, and check finished footwear item by item before shipment, as part of the sourcing work. To see how this runs for shoes specifically, see our footwear sourcing service, or read more about Quanzhou shoe manufacturers and how the local industry is organized.
FAQ
What is footwear quality control?
Footwear quality control is the hands-on check of finished shoes against your approved sample and spec — materials, workmanship, measurements, and packing — before cartons are sealed and the shipment is released. It happens on real production pairs at the factory, not on photos.
How do I check shoe quality before shipment?
Work through a written checklist like the 12 above: pairing and symmetry, glue and stitching, sole bonding, shade, size measurements against spec, golden sample comparison, and carton spot checks. Someone has to open boxes and handle the shoes; photos alone will not catch a shade shift or a lifting sole edge.
What AQL should I use for footwear?
Sampling levels and acceptance numbers are commercial terms that apply if/when agreed between buyer and supplier. Decide the sampling plan before production starts and write it into your purchase terms, so both sides inspect the same cartons to the same standard.
Can the factory handle QC on its own?
Factories run final checks, but they are grading their own work, and their bar for "acceptable" may differ from yours. Many buyers rely on their own eyes or someone independent on the ground. We compare the wider choice — buying through platforms like Alibaba versus working with an agent — in Alibaba vs. a sourcing agent.
Sourcing footwear from Fujian? Tell us what you need, and we will confirm what is realistic before you commit to anything.
