
Industry Insights
Sneaker Product Photography Basics: Shots That Sell and Stay Honest
Sneaker product photography basics—the essential shot list, lighting and color honesty, macro details, on-foot frames, and phone-first setups.
# Sneaker Product Photography Basics: Shots That Sell and Stay Honest
Product photography is where a sneaker's quality either becomes visible or doesn't. Buyers decide from images before specs ever load—and the gap between a well-photographed shoe and a badly photographed one is worth more than most material upgrades. The good news: sneaker photography is a learnable system, not an art contest. A consistent shot list, honest light, and disciplined color separate working product photography from accidental snapshots. This guide covers the essential shots, the lighting and color rules that keep images truthful, and a phone-first setup that produces sellable imagery without a studio budget.
The Essential Shot List
Every sneaker product page needs the same core coverage. Build it as a standard and shoot every model against it:
Shot / Purpose / Notes
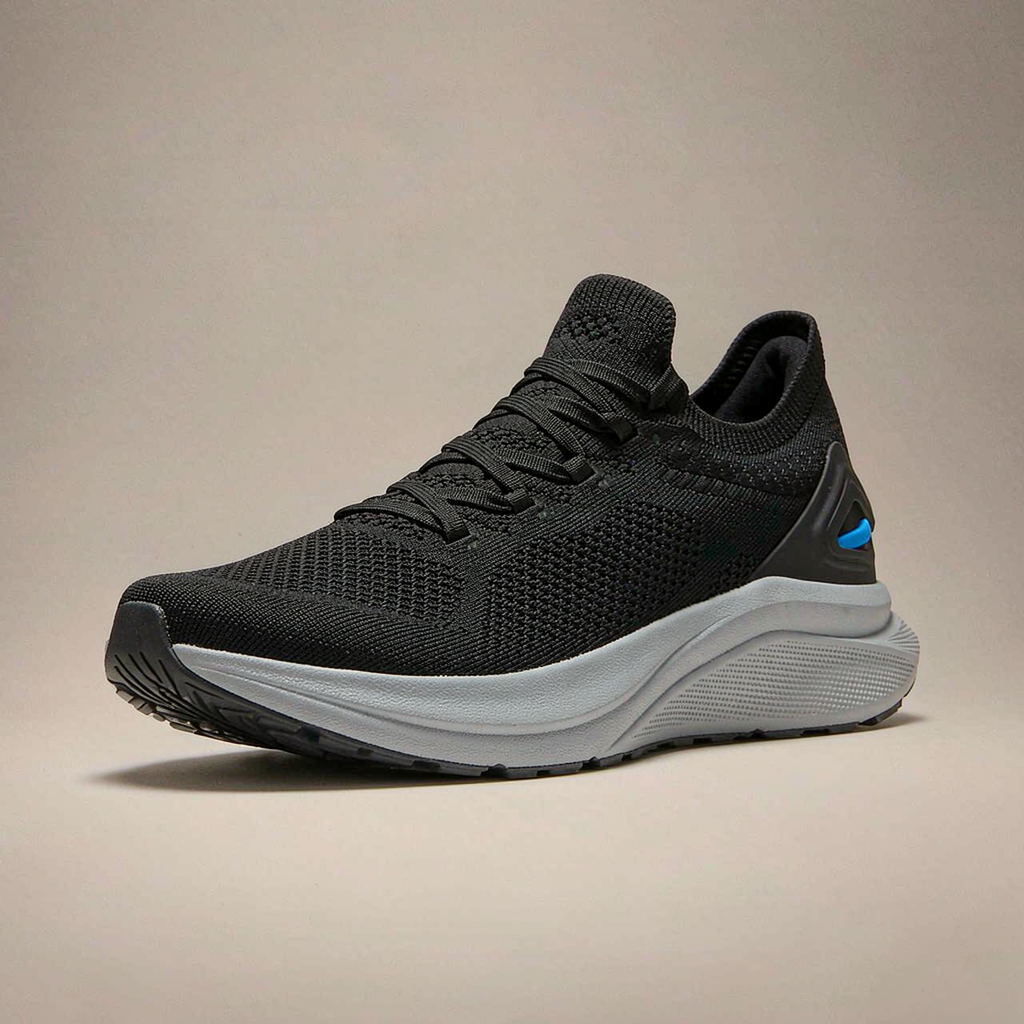
• Three-quarter hero — The primary selling image — Both colorways' hero angles consistent across models
• Lateral profile — Silhouette read — Both shoes (left/right) for symmetry proof
• Top-down — Panel layout, lacing — Square to the shoe
• Sole view — Tread, mold quality — Buyers inspect soles more than brands expect
• Heel view — Counter, branding — Straight-on
• Macro details — Stitching, materials, logo work — The quality evidence—see below
• On-foot frames — Fit and proportion read — Real feet, natural light
• Scale/context — Size communication — Next to a common object if useful
Two consistency rules across the list: same background and light setup for every product (a range should look like one brand), and both shoes shown at least once—buyers check symmetry, and our lasting quality guidance notes why: asymmetry is the defect they're looking for.
Light: The Honest Kind
Photography's first job is truth, and light decides truth:
• Soft, directional daylight is the working standard. A large window, indirect—soft light renders texture and color without theatrical shadows. Overcast days are a gift.
• Avoid mixed lighting. One light source type per shot; mixed warm/cool sources make color correction guesswork.
• Watch reflections on coated materials. PU, patent finishes, and translucent trims glare under hard light—diffuse (a thin white sheet works) before shooting.
• The shadow discipline. A soft, natural shadow grounds the shoe; a heavy staged shadow or a floating-on-white lie does neither.
Flash photography deserves special mention: on-camera flash flattens texture and falsifies color. If flash is unavoidable (flash-activated reflective trims, for instance), shoot those specific features deliberately and keep the standard imagery daylight-honest.
Color Honesty: The Rule That Protects Reviews
Color drift between photo and product is the most reliable review-generator in footwear—our color psychology guidance treats physical approval as the standard for production, and photography needs the same discipline:
1. Shoot next to the physical golden sample. The image's job is to match the approved reference, not to interpret it.
2. Calibrate the white balance—a gray card or a white paper reference in frame, corrected in editing.
3. Edit for accuracy, not drama. Saturation and vibrance pushes that look great on screen manufacture the exact drift that returns are made of.
4. Compare on multiple screens before publishing. What reads accurate on a calibrated display may read shifted on the buyer's phone.
5. State material truth. Suede photographs differently than PU, and deep tones shift more than neutrals—if a material genuinely reads different in person, the photography and the copy should manage that expectation, not hide it.
The meta-rule: photography is a promise about the object. Every editorial choice that makes the image better than the shoe borrows against the first review.
Macro: The Quality Evidence
Close-up detail shots are where small brands beat big ones—because the quality is real and the big brands' catalog photography glosses over it:
• Stitching lines at SPI-consistent zones—our stitching quality standards become visible evidence.
• Material texture—leather grain, mesh structure, suede nap—shot with raking (angled) light, the same light that reveals finishing quality.
• Hardware and logo work—the details our logo application guidance specs.
• Bond lines and edges—clean glue lines and finished edges, the bonding evidence.
Macro also polices the brand: shooting details that aren't good enough yet is the cheapest quality audit there is. If the macro shots embarrass, the finishing needs work before the photography does.
On-Foot and Context Frames
Fit sells through feet, not through studio shots:
• Multiple foot types. Narrow and wide feet, if the line serves both—buyers self-identify and self-select.
• Movement frames. Walking, standing naturally—stiff catalog poses communicate nothing about fit.
• True proportions. Wide-angle distortion lies about toe boxes and silhouettes; normal focal lengths tell the truth.
• The sizing bridge. On-foot shots pair with the size chart honesty: whether the shoe fits true, runs roomy, or needs sizing down—stated in copy, shown on feet.
The Phone-First Setup
Sellable sneaker photography needs less equipment than brands assume:
1. A phone with a decent camera (any recent midrange or better) — good enough for every shot above.
2. A window — soft indirect daylight is the studio.
3. White or neutral backdrop — paper, fabric, or a clean wall; consistency across products matters more than the material.
4. A diffusion sheet for glare-prone materials — thin white fabric.
5. A gray card or white reference — for white balance discipline.
6. A tripod or stable rest — consistency between shots, sharpness on macros.
7. Free editing with restraint — exposure and white-balance correction only; the accuracy rule above governs.
The total investment approaches zero; the discipline carries the quality. The gap between brands' photography is almost never equipment—it's the shot list applied consistently and the honesty held.
Photography with a Manufacturing Partner
Photography needs the physical product at its best: golden samples in hand, color-accurate production, and finishing that survives macro scrutiny. From the Fujian belt we time production so photography happens with real, verified goods—samples that match what ships, per the golden sample discipline—because the most expensive photography failure is shooting a sample the bulk won't match. Our launch playbook slots the photography phase into the release calendar.
As always: "MOQs depend on the product and factory. Tell us what you need and we confirm what is realistic before you commit to anything."
FAQ
What shots does a sneaker product page actually need? The standard list: three-quarter hero, lateral profile (both shoes), top-down, sole view, heel view, macro detail shots, on-foot frames, and a context/scale shot. Shot consistently—same background and light across every model—so the range reads as one brand. Both shoes shown matters: buyers check symmetry.
How do I keep product photos color-accurate? Shoot next to the physical golden sample, calibrate white balance with a gray or white reference, edit for accuracy rather than drama, and check the result on multiple screens before publishing. Color drift between photo and product is the most reliable review-generator in footwear—the photography is a promise about the object.
Can I shoot sellable sneaker photos with a phone? Yes—a recent phone, a window with soft indirect daylight, a consistent neutral backdrop, a diffusion sheet for glare-prone materials, and restrained editing (exposure and white balance only). The gap between brands' photography is discipline—consistent shot lists and honest light—not equipment.
Why do macro detail shots matter so much? They're the quality evidence: stitching consistency, material texture, hardware, clean bond lines—the details small brands' real quality can prove and catalog photography usually glosses over. They also police the brand: if macro shots embarrass, the finishing needs work before the photography does.
