
Quality & Inspection
How to Review a Sneaker Sample: 12 Checks Before You Approve Bulk Production
A sneaker sample review checklist for first-time brands: 12 checks covering fit, symmetry, materials, bonding, and packaging to run before approving bulk production.
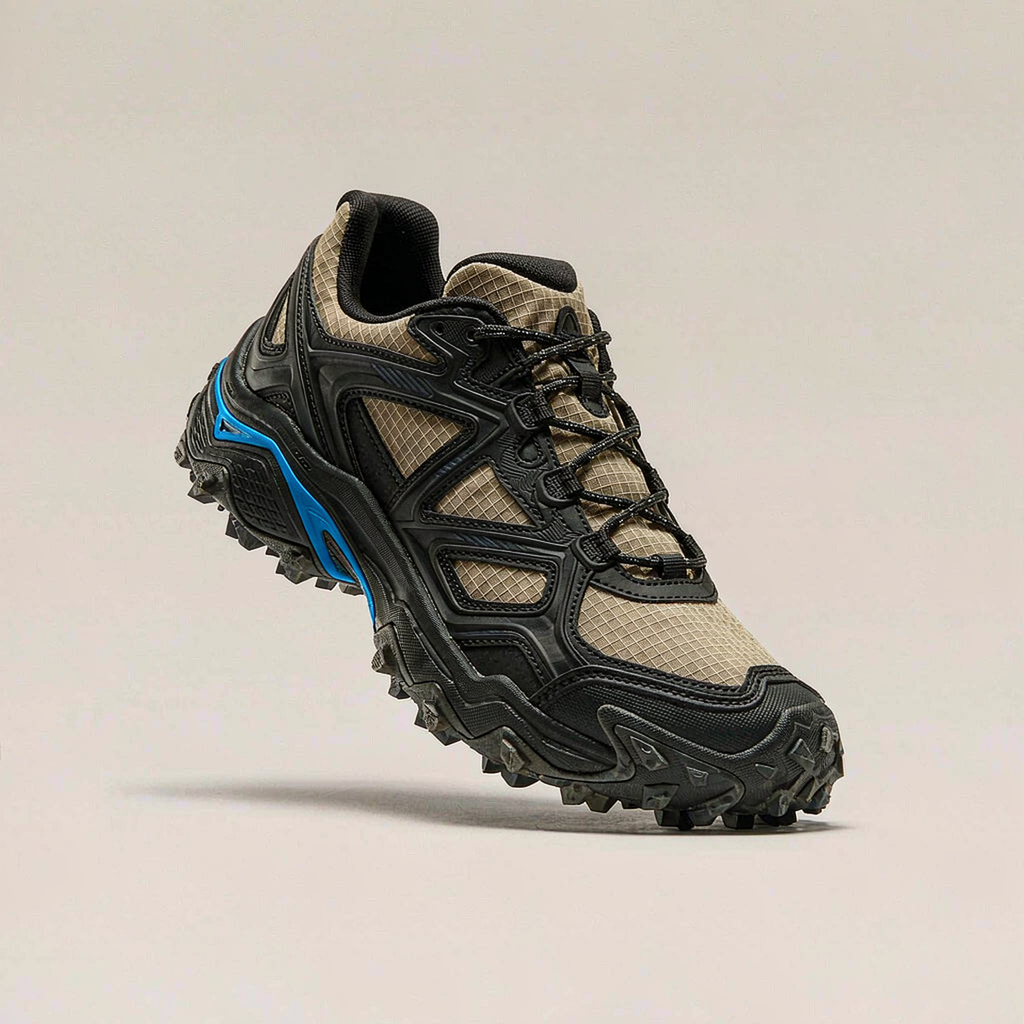
# How to Review a Sneaker Sample: 12 Checks Before You Approve Bulk Production
The sample approval is the most consequential ten minutes in a shoe brand's production cycle. Everything downstream—bulk materials, production scheduling, the golden sample that arbitrates every factory dispute—flows from what you approve. Approve a flawed sample and you have ordered a flawed shoe at scale. Yet most first-time brand owners flip the sample over, admire the color, and say yes. This sneaker sample review checklist gives you the twelve checks that matter, in the order a professional would run them.
Before starting: review the sample as a pair, not a single shoe, on a clean table with good light, and wear it—indoors, on a hard floor, for at least fifteen minutes. Photos hide what feet find.
The 12-Check Sample Review
# / Check / What to Look For
• 1 — Spec sheet match — Measure the sample against your tech pack: last length, width, heel height, platform. Note every deviation in writing.
• 2 — Pair symmetry — Compare left to right: panel heights, collar shape, toe box volume. Asymmetry at sample stage multiplies at bulk.
• 3 — Upper material — Confirm the exact material—finish, thickness, hand feel—matches the approved swatch, not just "leather" or "knit."
• 4 — Stitching — Density per centimeter, straight lines, back-tacks at stress points, no loose thread ends, no skipped stitches on visible panels.
• 5 — Bonding and cement lines — Press edges of overlays and sole junction. Glue bleed, wavering cement lines, or lifting edges are bulk-stage delamination warnings.
• 6 — Lasting and sole attachment — Look inside at the lasting margin and underfoot at the sole edge: smooth pull, no puckering, no glue wave on the sidewall.
• 7 — Fit and interior — Wear test: heel slip, toe room, arch contact, any interior seam or glue ridge that will raise blisters.
• 8 — Weight — Weigh both shoes. Weight outside expectation usually means material substitution somewhere—trace it before approving.
• 9 — Outsole and tread — Mold finish (flash lines, sink marks), tread definition, compound surface matching what you discussed.
• 10 — Hardware and branding — Logos, lace hardware, eyelets: placement, orientation, sharpness of molding, consistency with your brand artwork.
• 11 — Color under multiple lights — Check under daylight and warm indoor light. Colors that match in one light and split in another cause bulk-stage disputes.
• 12 — Packaging trial — Fold the shoe into its intended box with tissue. Overhang, crush points, or a box that needs force are problems to fix now.
How to Run the Review So Findings Actually Get Fixed
A checklist only works if its output is structured. Write findings as a numbered list against the twelve checks, split into two classes: must-fix before bulk (anything affecting fit, durability, or brand presentation) and accepted as-is (character items you consciously approve). Send both lists to the factory in writing, then require a corrected sample or a dated confirmation for each must-fix item before production starts.
The discipline that separates professionals from hopefuls: never give verbal approvals, and never approve "with small fixes to be handled in bulk." Bulk production follows the sample, not your intentions. Whatever the approved sample contains, you have ordered a thousand copies of.
This is also why the corrected sample, once agreed, becomes the golden sample—the reference object for the entire production run. Our guide on golden sample management covers how to seal, sign, and store it so it can actually arbitrate a dispute eight weeks later.
The Fit Check Deserves Its Own Hour
Of the twelve checks, fit is the one brand owners rush. A sample that fits the founder's foot proves nothing about the market's foot. If your budget allows, have three to five people in your target customer profile wear the sample and report the same three questions: heel slip on stairs, pressure points after fifteen minutes, and whether they would size up or down.
Fit problems found at sample stage cost a last adjustment and one more sample round. Fit problems found in bulk cost a season. If the last is new to your brand, this check is non-negotiable—shoe lasts shape everything downstream, as we covered in our guide to how a sneaker gets developed.
Common First-Timer Mistakes
Three patterns account for most sample-stage regret:
1. Approving on beauty, not build. The colorway photographs well and the review stops there. The stitching density and cement lines—the things that decide whether the shoe survives its first month—are skipped. Our broader footwear quality control checklist covers the bulk-stage version of these checks.
2. Reviewing one shoe of the pair. Asymmetry between left and right is a lasting and pattern-cutting signal. Always review as a pair.
3. Accepting "bulk will be better." It never is. Bulk production reproduces the approved sample at scale, with more hands and less attention per pair. Whatever the sample is, bulk is slightly worse, not better.
When to Work Through a Development Partner
A development partner runs this checklist as standard procedure—often catching items three and five before the sample ever ships to you—and manages the correction loop with the factory in the same working language and time zone. If you are developing remotely, the sample round is where an experienced set of eyes on the ground pays for itself, because the correction cycle is where calendars quietly lose a month.
MOQs depend on the product and factory. Tell us what you need and we confirm what is realistic before you commit to anything. The same applies to sample rounds: the number of correction cycles you should budget depends on the shoe's complexity, and it is knowable before you start.
Frequently Asked Questions
How many sample rounds should I expect?
For a new style on an existing last, two rounds is typical: prototype, then corrected sample. A brand-new last or a complex upper can add a round. Each round should end with a written findings list, or you will pay for a round that changes nothing.
Should I approve the sample if only packaging is wrong?
Packaging is a must-fix item, not a waiver. But it is fixable with written confirmation and a photo trial rather than a full new sample round—distinguish must-fix items that need physical re-sampling from those a factory can correct and document.
What if the factory says the issue is "normal for handmade shoes"?
Some variation is genuinely normal—hand-cut panels differ by millimeters. The test is whether the item affects fit, durability, or brand presentation. If yes, it belongs in must-fix regardless of whether it is "normal." Your golden sample defines your standard, not industry averages.
Can I skip the sample review and check bulk production instead?
No. Bulk inspection verifies production against an approved standard; it cannot create one. Without a properly reviewed and approved sample, bulk QC has nothing to check against, and any dispute becomes your word against the production line.
The Takeaway
A structured sample review converts your judgment into a document the factory can execute against. Run the twelve checks, split findings into must-fix and accepted, get the corrections into a golden sample, and only then release bulk. The hour you spend on this checklist is the cheapest quality control you will ever buy.
