
Quality & Inspection
Wear Trials Before Bulk: Testing Your Sneaker Concept with Real Feet
Plan sneaker wear testing before bulk: real feet catch fit and comfort issues early.
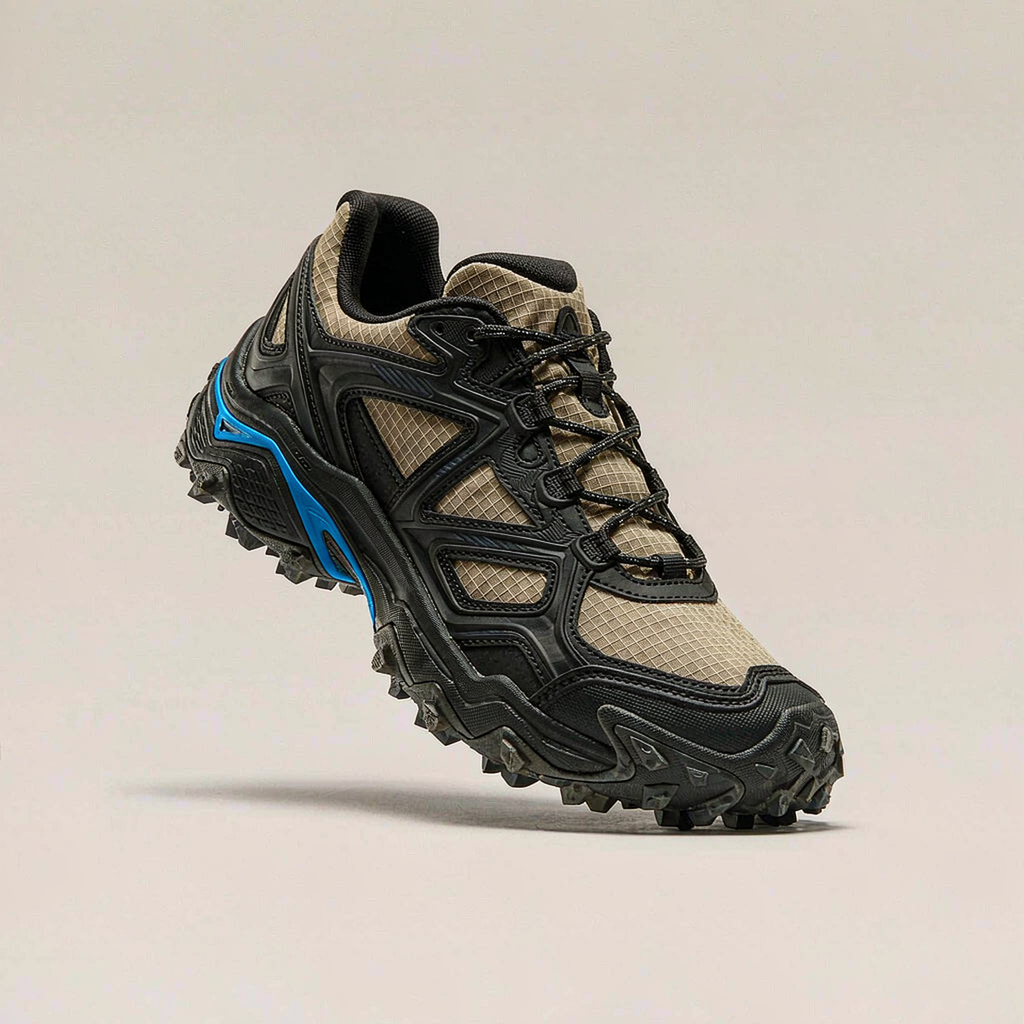
# Wear Trials Before Bulk: Testing Your Sneaker Concept with Real Feet
The prototype looks great on camera. Every stitch sits straight, the colorway pops, and the unboxing shot is ready. Then a real wearer puts them on for a full day — and by hour three the heel is rubbing, the tongue has drifted, and the forefoot foam feels flat.
Sneaker wear testing — handing pre-bulk samples to real feet and writing down what happens — is the cheapest way to close that gap while changes are still cheap. Here is the full method: who wears the samples, what scenarios to test, what to record, how long to run it, and how to turn the findings into a revised spec.
Who wears them: build a small tester panel
Don't test on yourself alone. You designed the shoe, you've worn it through several fittings, and your feet have already adapted. You are the least reliable judge in the room.
Hand out three to five sample pairs, one pair per tester, and pick testers who differ from you:
• Foot shape. Someone with a wide forefoot, someone with a narrow heel, someone with a high instep. Fit problems hide in feet unlike yours.
• Body weight. A heavier tester loads the midsole differently. Foam that feels fine under one person can pack out in days under another.
• Daily habits. A desk worker, someone on their feet all shift, a parent pushing a stroller uphill. Usage, not opinion, is what breaks shoes in.
One pair per tester keeps the wear history clean — you always know whose feet produced which finding. Ask each tester their usual size, whether they have flat arches or wide feet, and what a normal day looks like for them. Then hand them the log in the next section and agree on one rule: wear them daily, don't save them for special occasions.
What sneaker wear testing should cover: a scenario checklist
A sneaker that only survives the commute to the studio hasn't been tested. Rotate these scenarios across the trial and note which one was active when a problem showed up:
• Daily commute. Walking, standing on the bus or train, quick stops and turns. This is where heel slip and tongue drift show up.
• A full shift on your feet. Six to eight hours standing — retail, kitchen, warehouse, market day. This is where arch support and forefoot cushioning earn or lose their reputation.
• Fast pace and stairs. Brisk walking, stair climbs, a light jog for the bus. Check heel lock and whether the toe box pinches on climbs.
• Downhill stretches. Toes slide forward, and a shallow or pointy toe box turns a walk into a squeeze test.
• Rain and wet pavement. Grip on painted and metal surfaces, water getting in at the tongue or seams, how the pair dries, and whether it stains.
• One long continuous day. A day trip with eight-plus hours of wear. Comfort that fades after hour five is a different problem from a shoe that hurts on minute one.
You are not abusing the shoes. Wear them the way your customer would — just on purpose, and with a notebook open.
What to record: the daily wear-testing log
Memory smooths discomfort out. By day nine, "mostly fine" could describe five different shoes. A one-minute daily entry keeps the record honest and comparable across testers:
Day / Hours worn / What you did in them / Comfort (1–5) / Rubbing or pain (where) / Visible wear / Smell and cleaning
• 3 — 7 — Commute + retail shift — 4 — Slight rub on left heel, first hour only — Crease lines on toe box, normal; no loose threads — No odor yet; brushed mud off, wiped clean
The example row shows the level of detail that matters: one minute, one line. Visible wear means what the eye and a fingertip find — stitching pulling at the flex points, creasing where it shouldn't crease, outsole lugs flattening, heel lining pilling. Smell and cleaning matters more than people expect: a shoe that holds odor after a week of normal wear reads as cheap no matter how good the upper looks.
At the end of the trial, do one slow hand-and-eye check per pair against how it started:
• Outsole wear pattern — symmetric left to right, or sliding to one edge?
• Midsole — even creasing, or collapsed on one side?
• Insole — flattened at the heel or forefoot, edge curling?
• Upper — stitching at the stress points, toe box shape, heel lining?
• Color — rubbed onto socks or pants, uneven fading?
• After a wet day — dried fast, stained, or stayed damp and smelly?
How long to run it: why one to two weeks is the minimum
Three days tells you whether the shoe hurts out of the box. It does not tell you how it behaves as an object that gets walked on every day. Sneakers fail by cycles, not by hours: foam compresses and recovers slower after repeated days, linings loosen after sweat and flex cycles, stitching and glued seams show fatigue after the upper has been creased a few hundred times, and odor builds over roughly a week, not an afternoon.
So the floor is one to two weeks of daily wear, every tester, same window. Shorter than that, you only catch the obvious defects — the ones that would have failed at the fitting stage anyway. A full week surfaces pattern problems like heel slip that appears once the padding packs out. Two weeks starts to reveal material behavior: a midsole that goes flat, a lining that frays, an outsole that wears fast.
Build the window into your development schedule. If a re-test round is needed after a fix, that is another week — plan for it now, not when your launch date is two weeks away.
Judging results: compare against the golden sample
Your golden sample is the signed-off reference pair — the pair that defines how the shoe should fit, look, and feel. Keep it clean and out of the trial. When the wear pairs come back, put each one next to the golden sample and judge by eye and hand: shape retention, stitching tension, outsole wear, color consistency.
Then triage every finding into one of three buckets:
What testers report / Verdict / What happens next
• Toe box creasing, softer feel after week one — Acceptable — normal break-in — Log it in the spec and proceed
• Heel slip or toe pinch, reported by two or more testers — Fit issue — adjust the last or pattern — Cut a corrected fitting sample, then run a short focused re-test on that area
• Midsole flat by day five, lining fraying, outsole wearing fast — Material issue — Swap the material; new sample round before bulk
One rule of thumb: a problem two or more testers hit in the same spot is a design problem, not a personal fit problem. A single tester's complaint deserves sympathy and a second look at their foot shape and usage before you change anything.
Close the loop: write findings back into the spec sheet
A wear trial that ends in a group chat is quality theater. Findings change something only when they change documents.
• Update the spec sheet. Comfort notes, revised material callouts, stitch density at the stress points that pulled, care instructions — every fix traces to a line item.
• Version it. Bump the spec revision so the factory works from the new document, not the one in their inbox from three weeks ago.
• Refresh the golden sample if the changes are visible, and sign the new one.
• Re-test what changed. A pattern fix needs one more fitting sample and a few days of focused wear. Don't re-run the whole trial for one modified zone.
If you're building your first spec sheet, our walkthrough of how to develop a sneaker covers where wear feedback fits in the document set.
Wear trials in our development flow
At GlobalSala, wear trials sit between sampling and bulk sign-off: we hand pre-bulk pairs to wearers, collect the daily logs, compare against the golden sample, and fold the verdicts into the spec before production is confirmed. When fixes change materials or construction, that's also when we match the right factory in the Quanzhou and Jinjiang belt — more on that cluster in our guide to sneaker manufacturing in Quanzhou.
Once bulk is running, quality shifts to production checks and pre-shipment inspection, piece by piece, before anything is exported. AQL sampling of bulk orders is a separate topic — it applies if/when agreed between buyer and supplier.
How many pairs you commit to is a later question than how many you test. Our standing line applies: "MOQs depend on the product and factory. Tell us what you need and we confirm what is realistic before you commit to anything."
You can see how this stage connects to sampling, factory matching, and bulk management in our development process.
Wear testing FAQs
How many pairs do I need for a sneaker wear test?
Three to five pairs, one per tester. Fewer than three testers makes it hard to separate one person's foot shape from a real pattern problem. More pairs don't help unless the testers differ in foot shape, body weight, and daily habits.
How long should a wear trial run?
One to two weeks of daily wear. Short tests catch only out-of-the-box defects. The problems that sink a launch — foam packing out, linings loosening, odor, heel slip after break-in — show up after repeated days of use.
What is a golden sample?
The signed reference pair that defines fit, materials, and workmanship for the whole order. At the end of a wear trial, each worn pair is compared against it by eye and hand to separate normal break-in from actual defects.
Does wear testing replace a factory inspection?
No. Wear testing checks your design before bulk; inspection checks production quality during and after it. AQL sampling covers bulk orders if/when agreed between buyer and supplier. You need both — in that order.
